 Knit Christmas Patterns — Cozy Handmade Holiday Knits
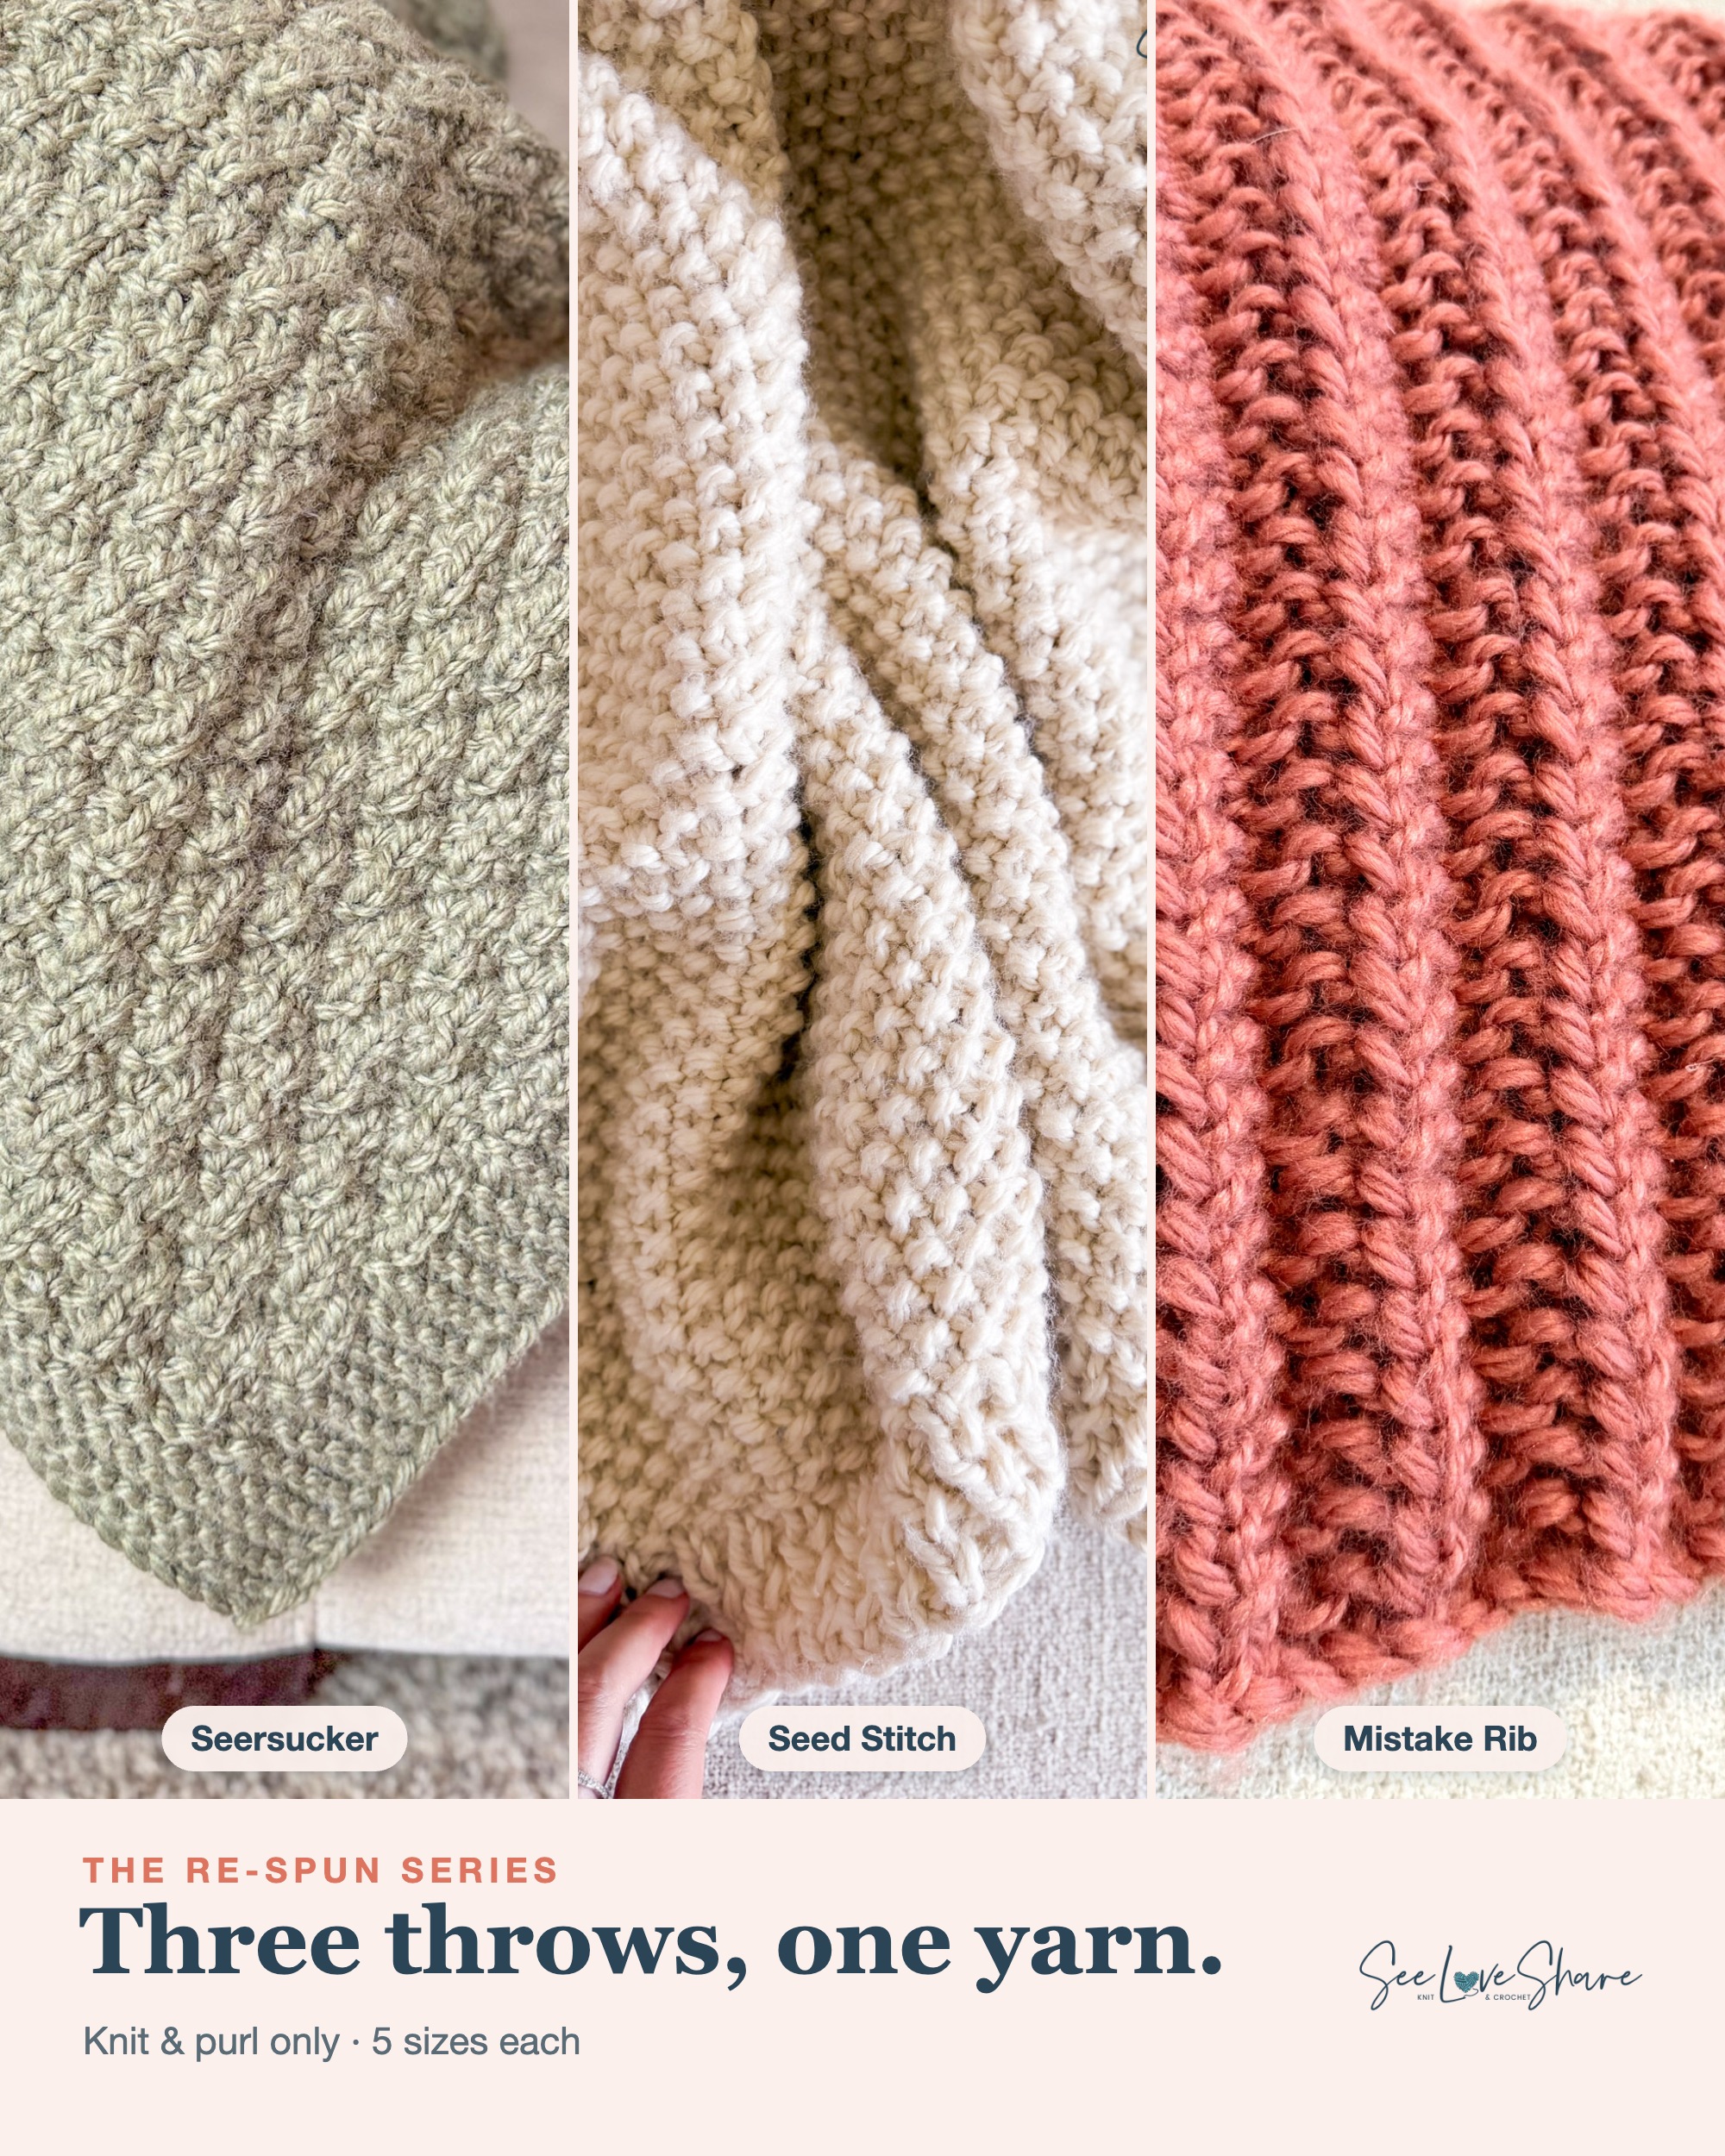 Easy Knit and Purl Blanket Patterns — The Re-Spun Series (3 Beginner Throws)
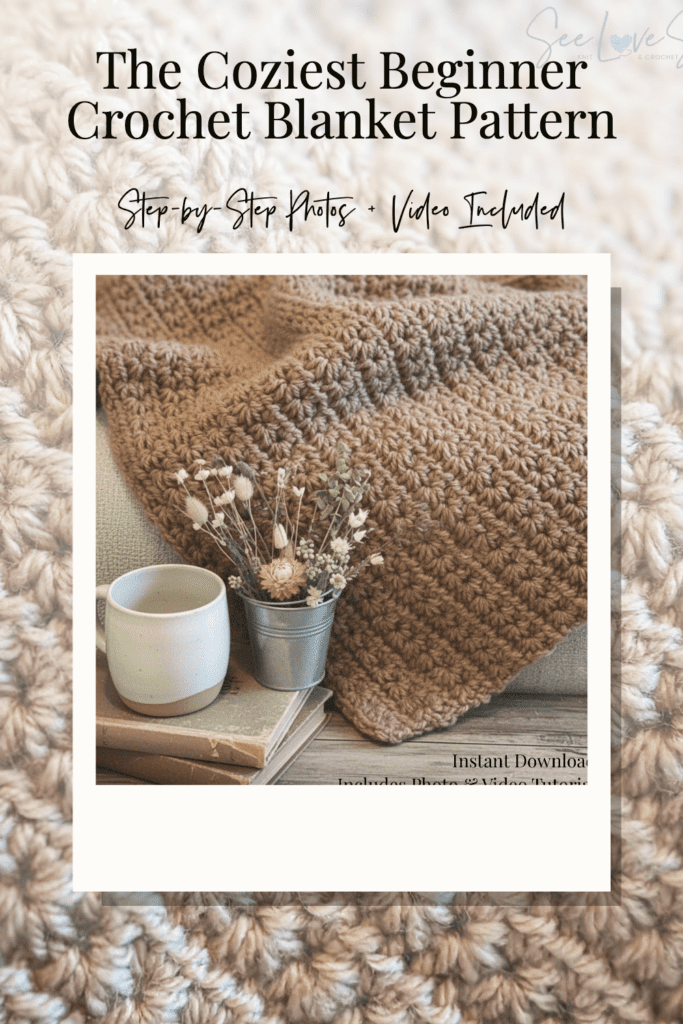
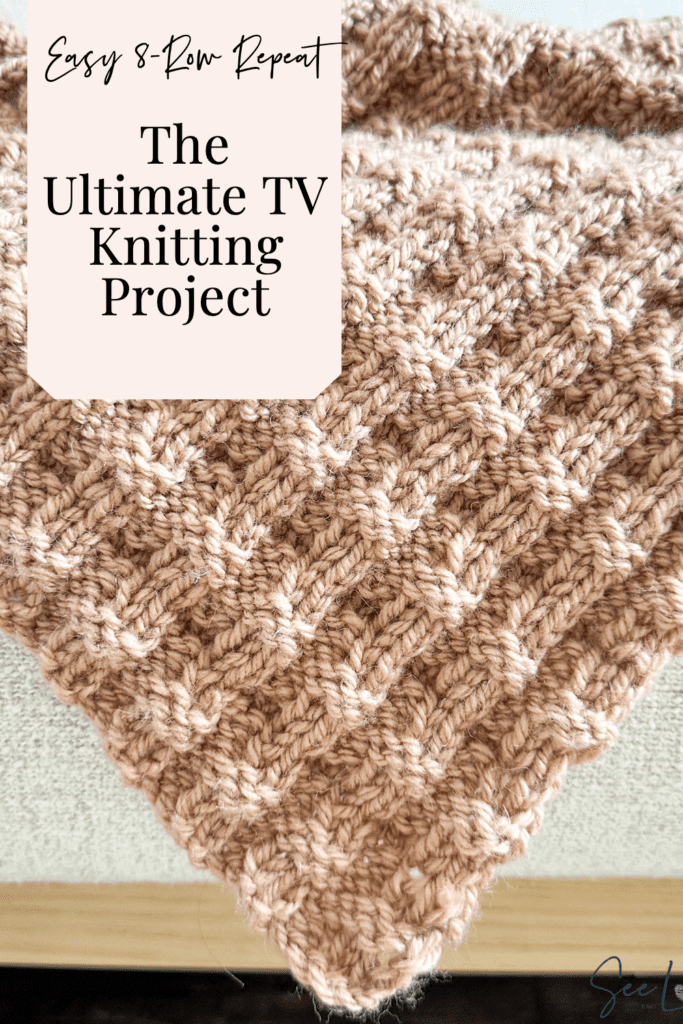
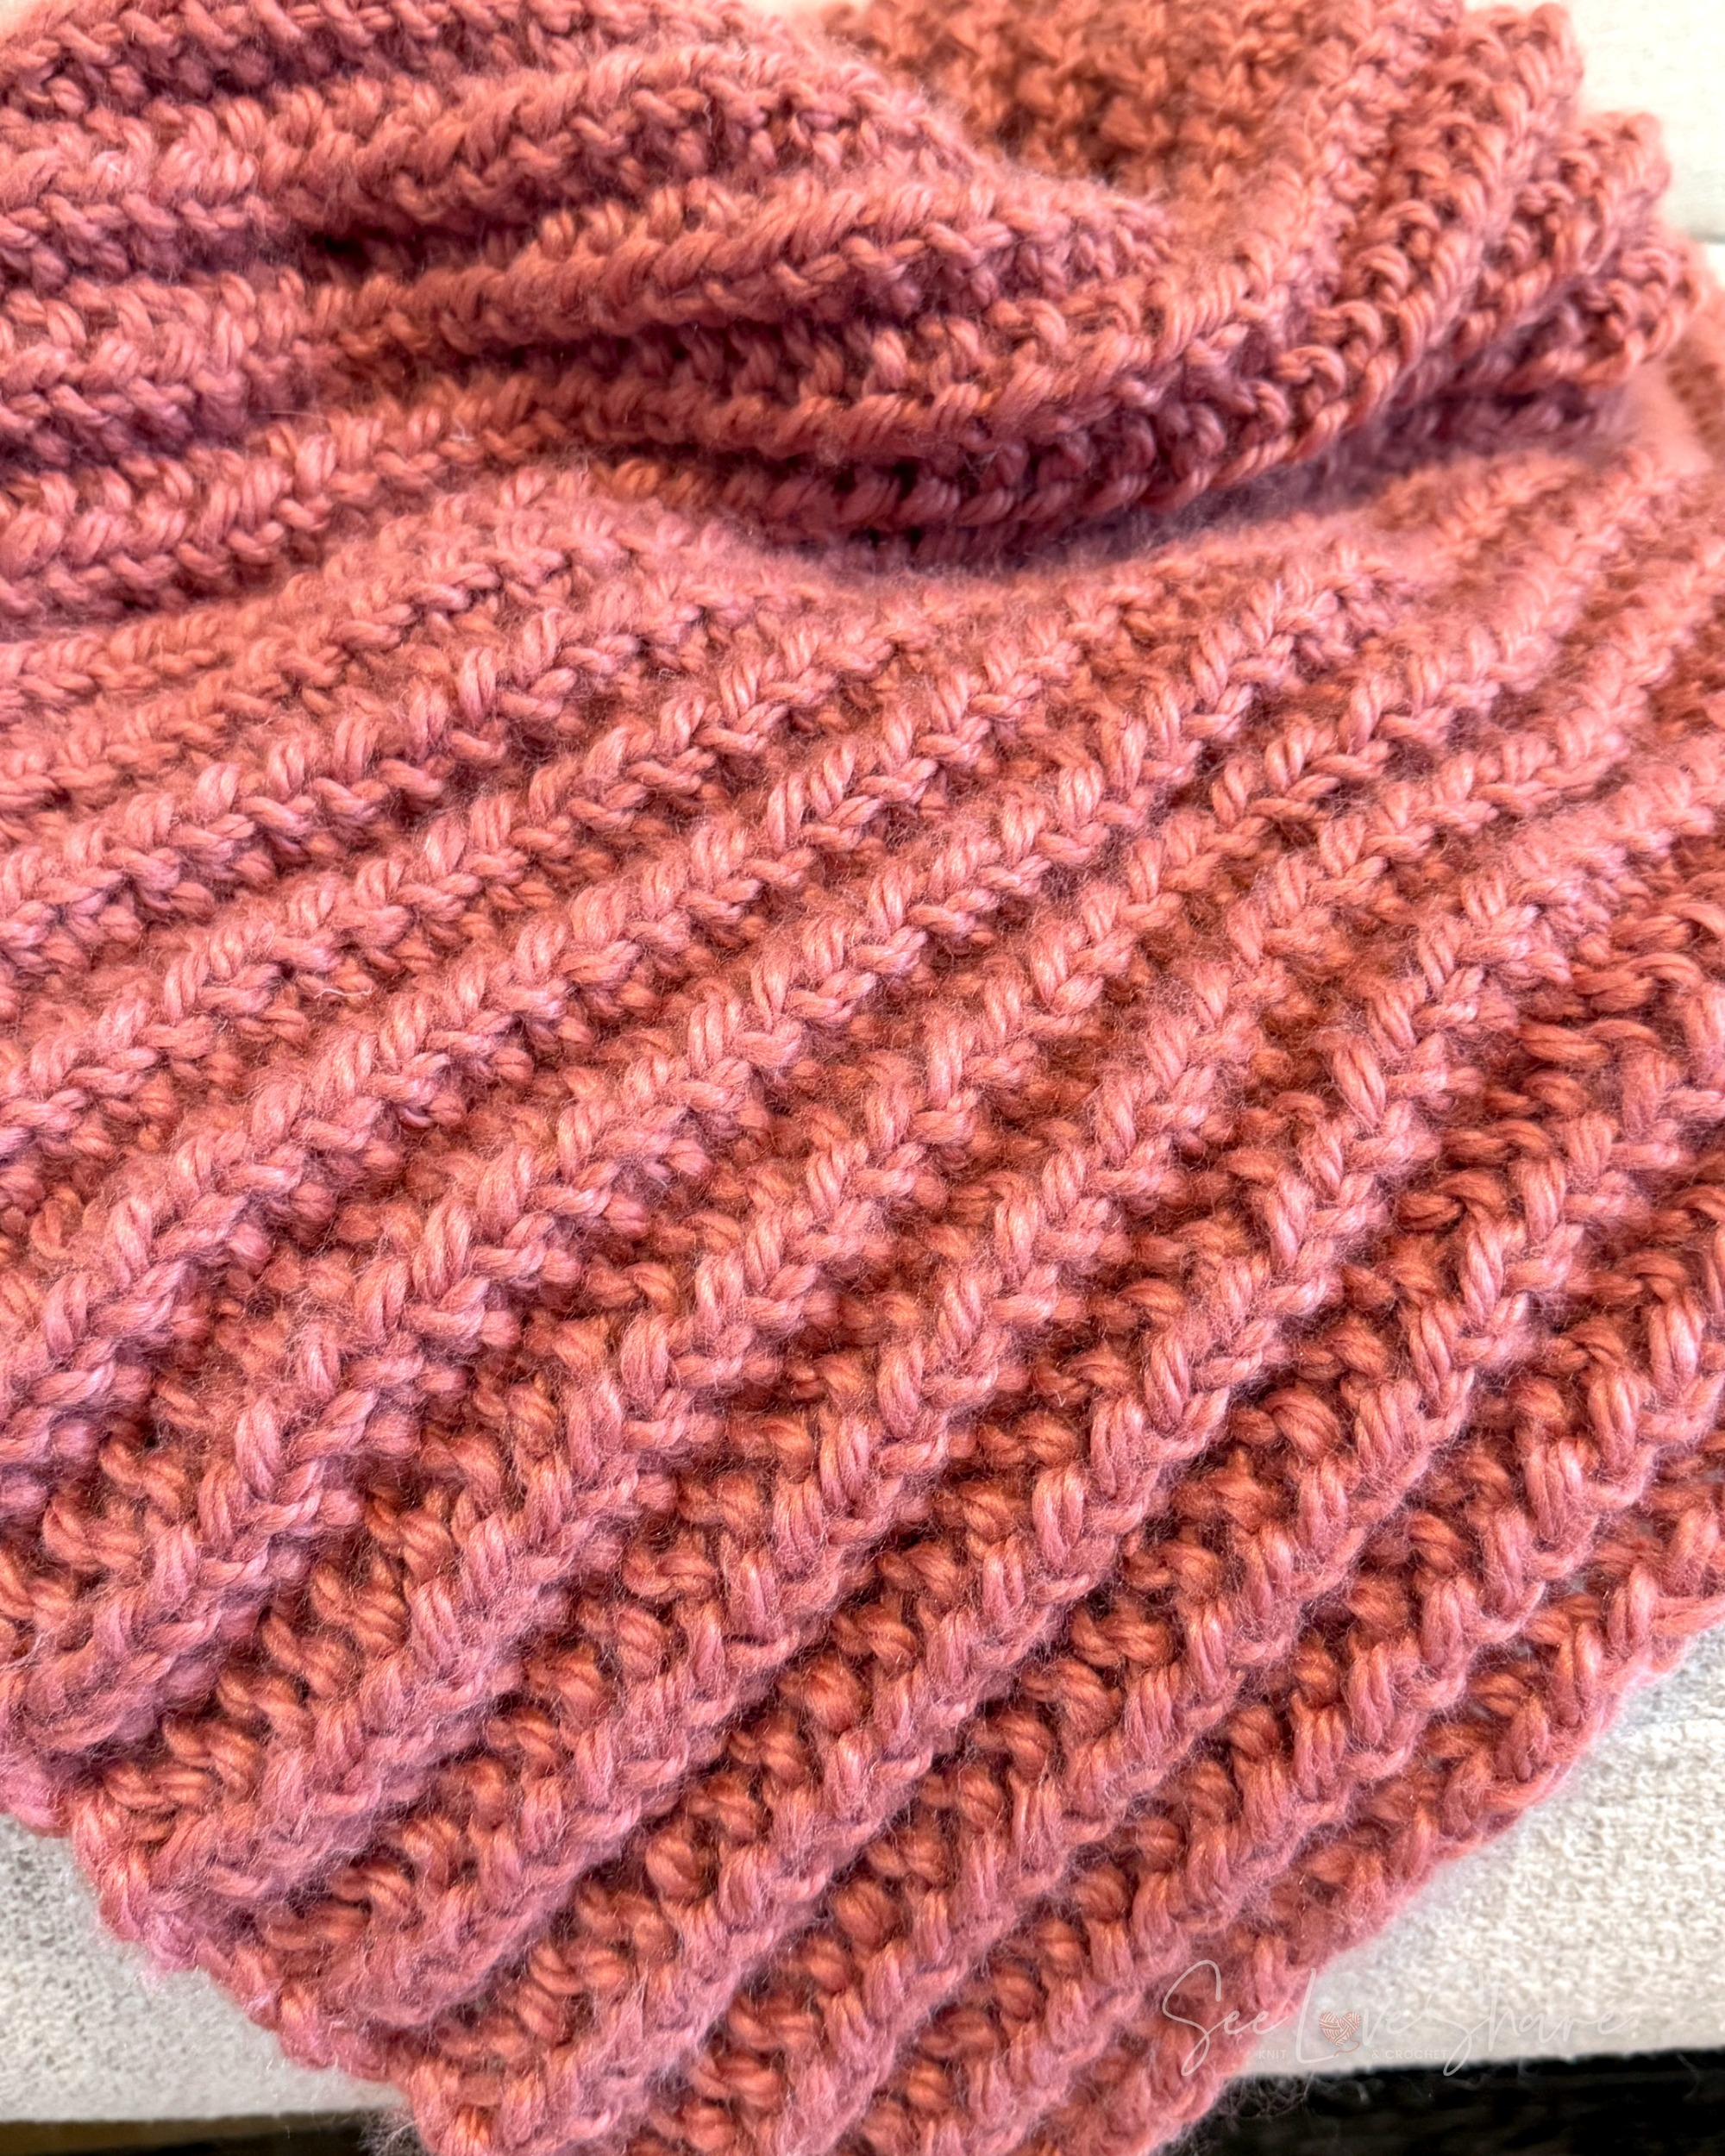 Mistake Rib Knit Throw — Beginner Knit Blanket Pattern (Free!)
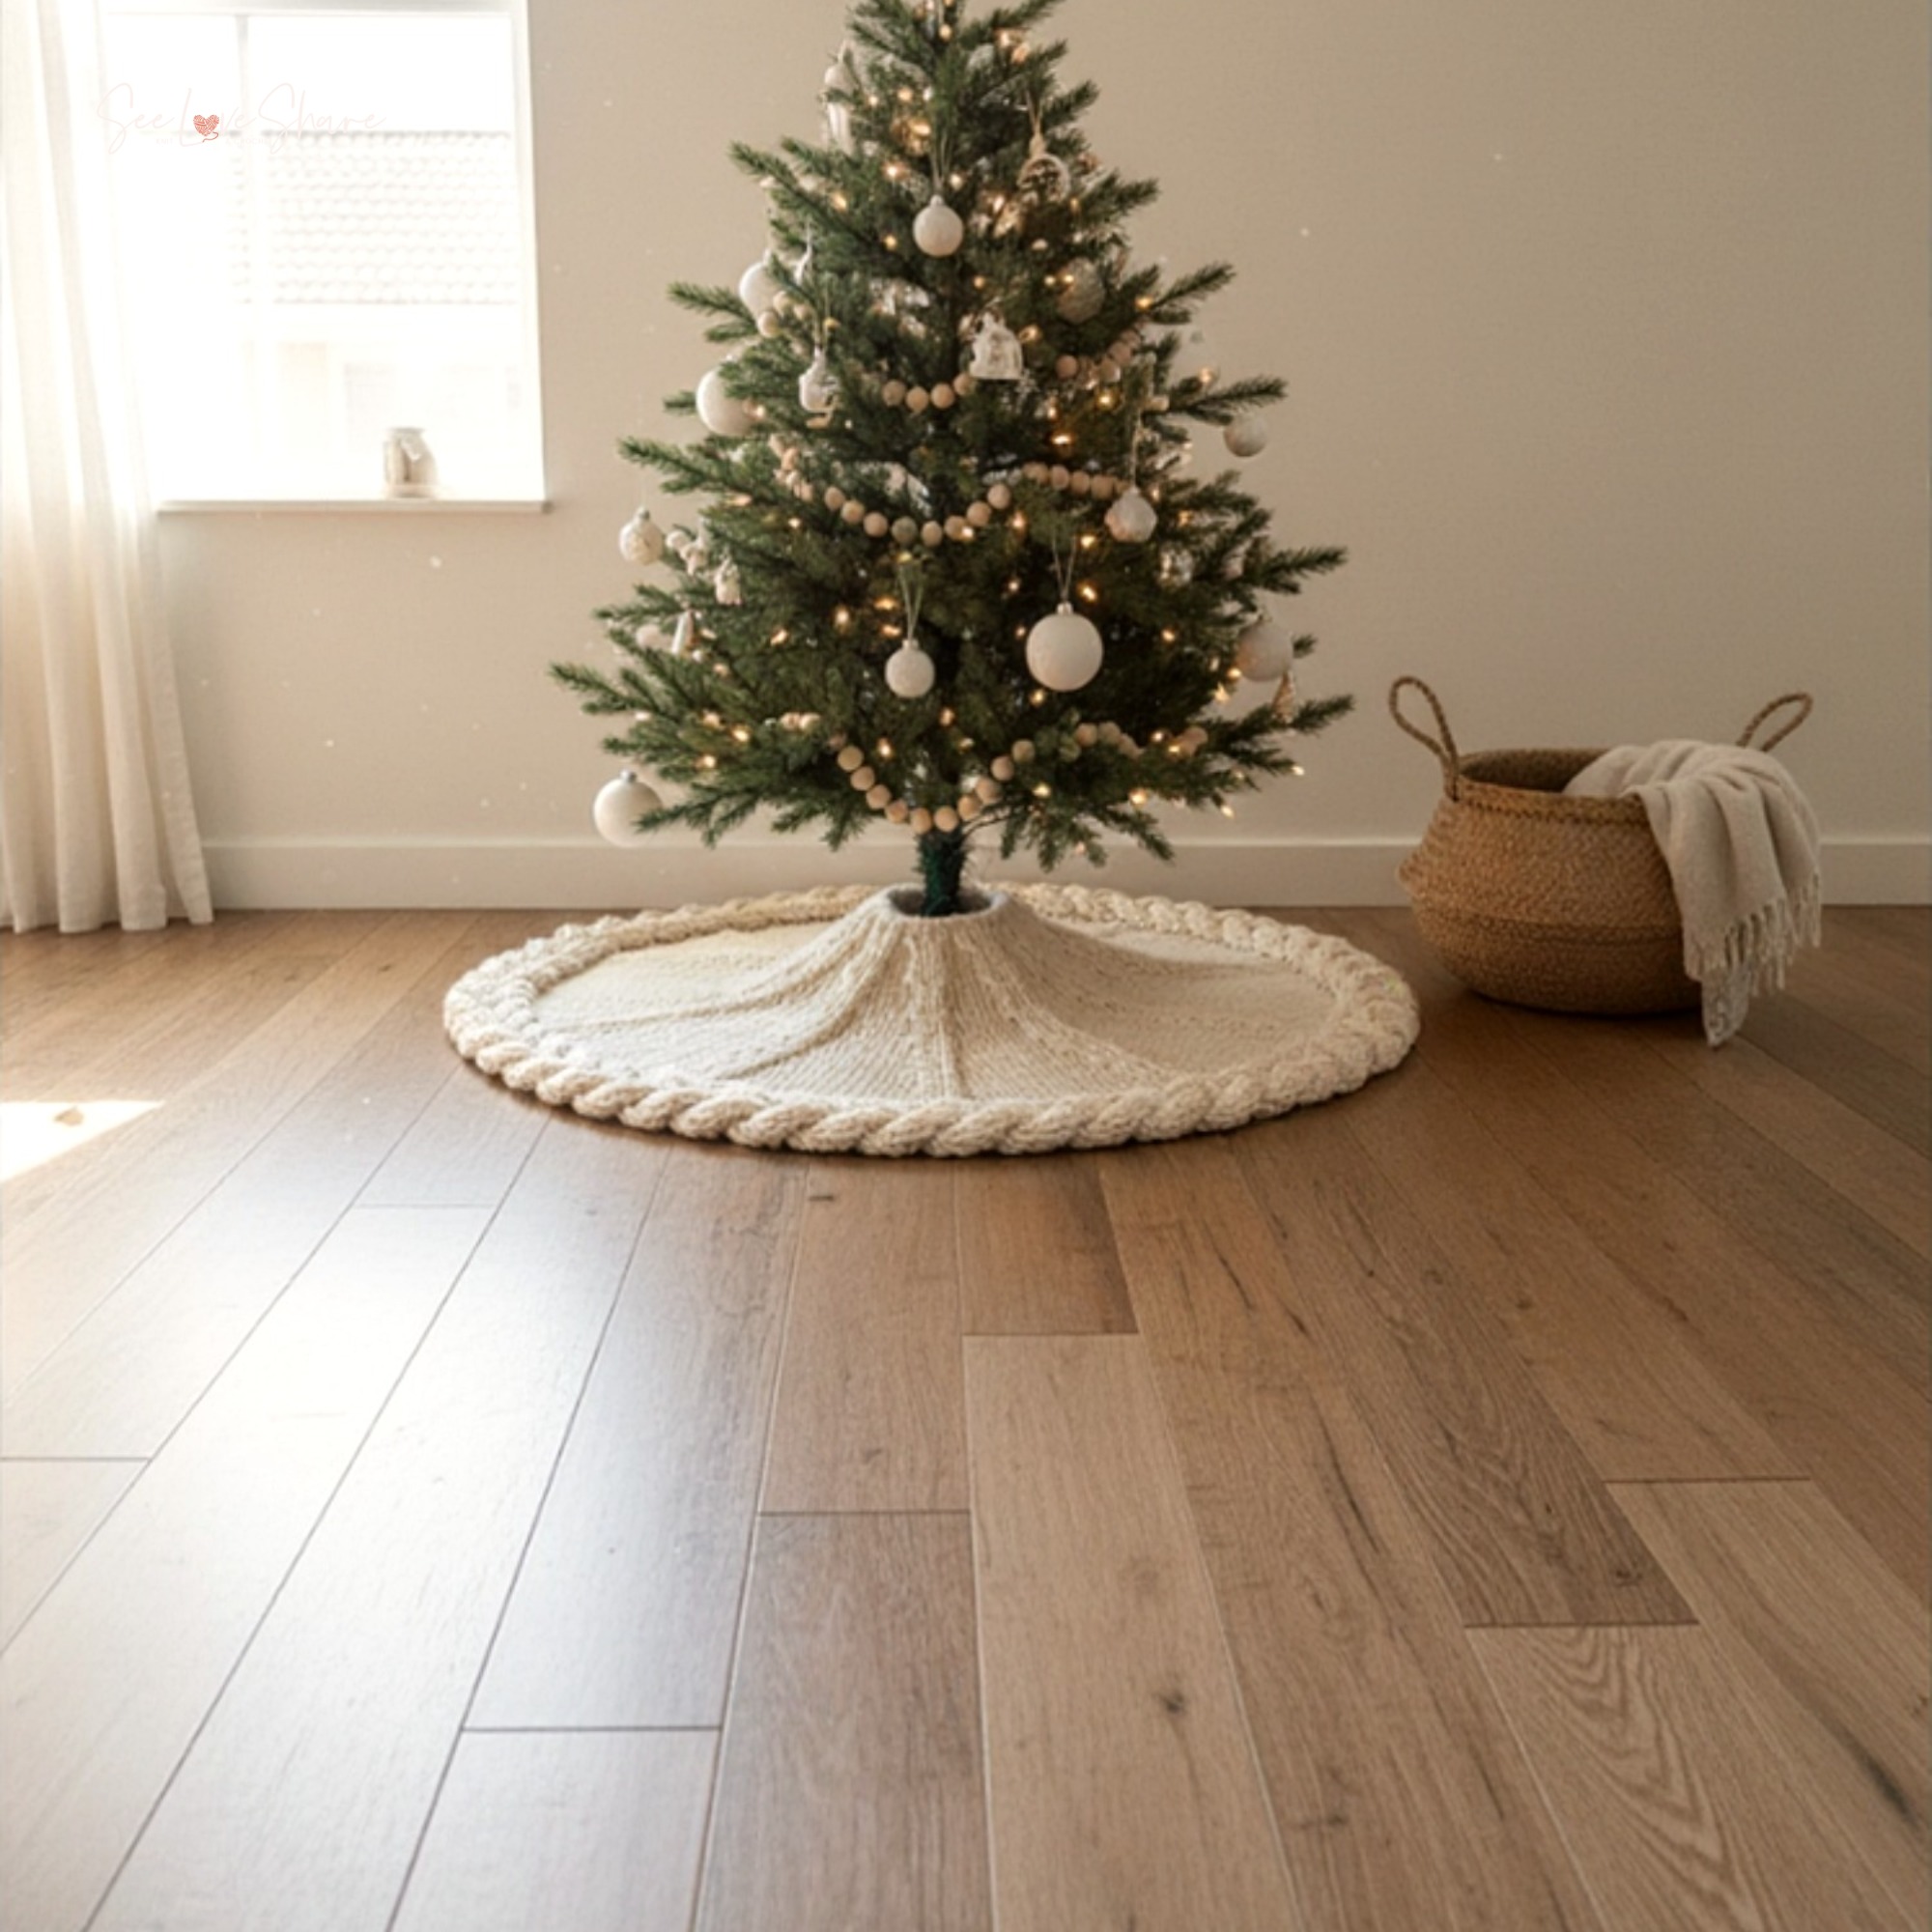
 Knit Tree Skirt Pattern: Cozy Cable Braid in Two Sizes
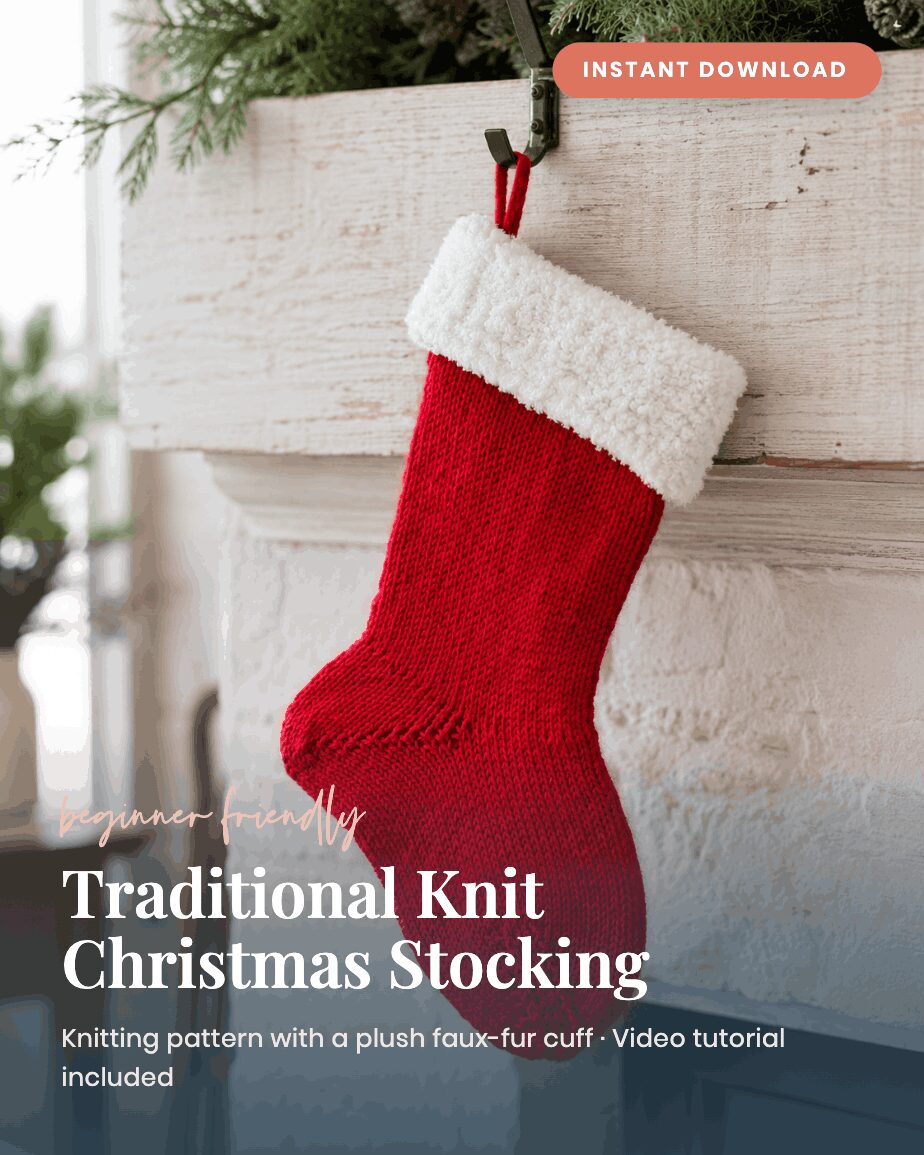 Traditional Folded-Cuff Knit Christmas Stocking Pattern
 Halloween Crochet Patterns: 5 Easy No-Sew Garland & Ornament Makes